Before you start
Everything you need is in Your lab details, which opens from the button at the bottom right of every page: your own copy of the bank, the customer and presenter logins, your Galileo account, and the model endpoint. It fills in once you have checked in, and shows the same details every time you come back.
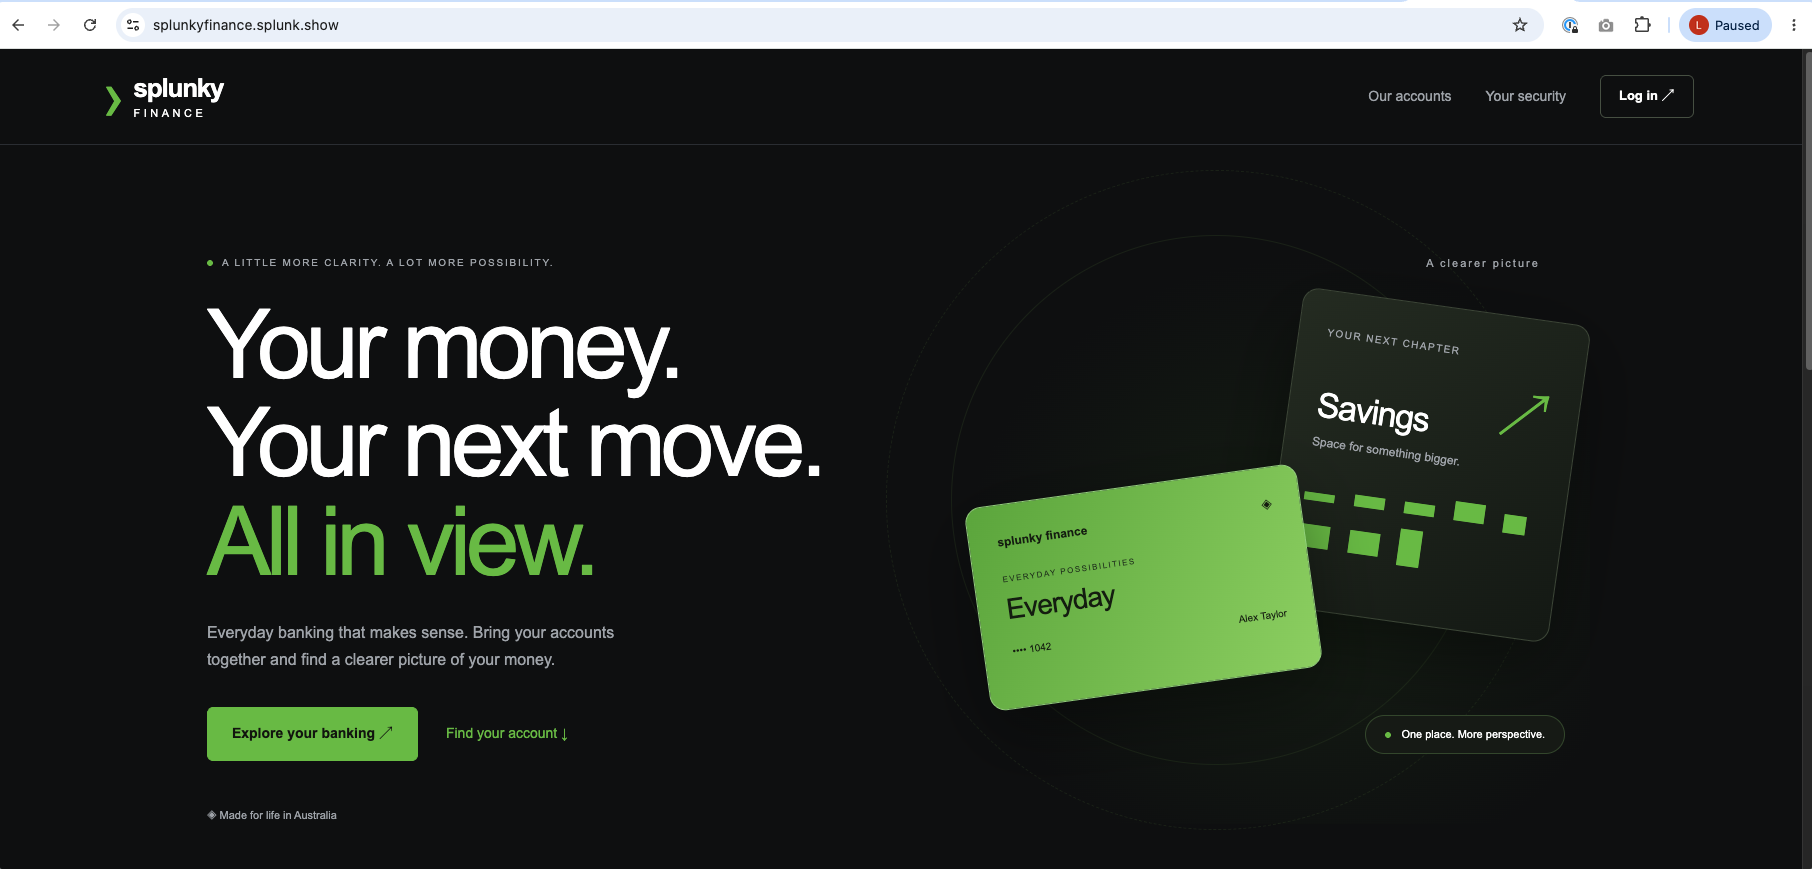
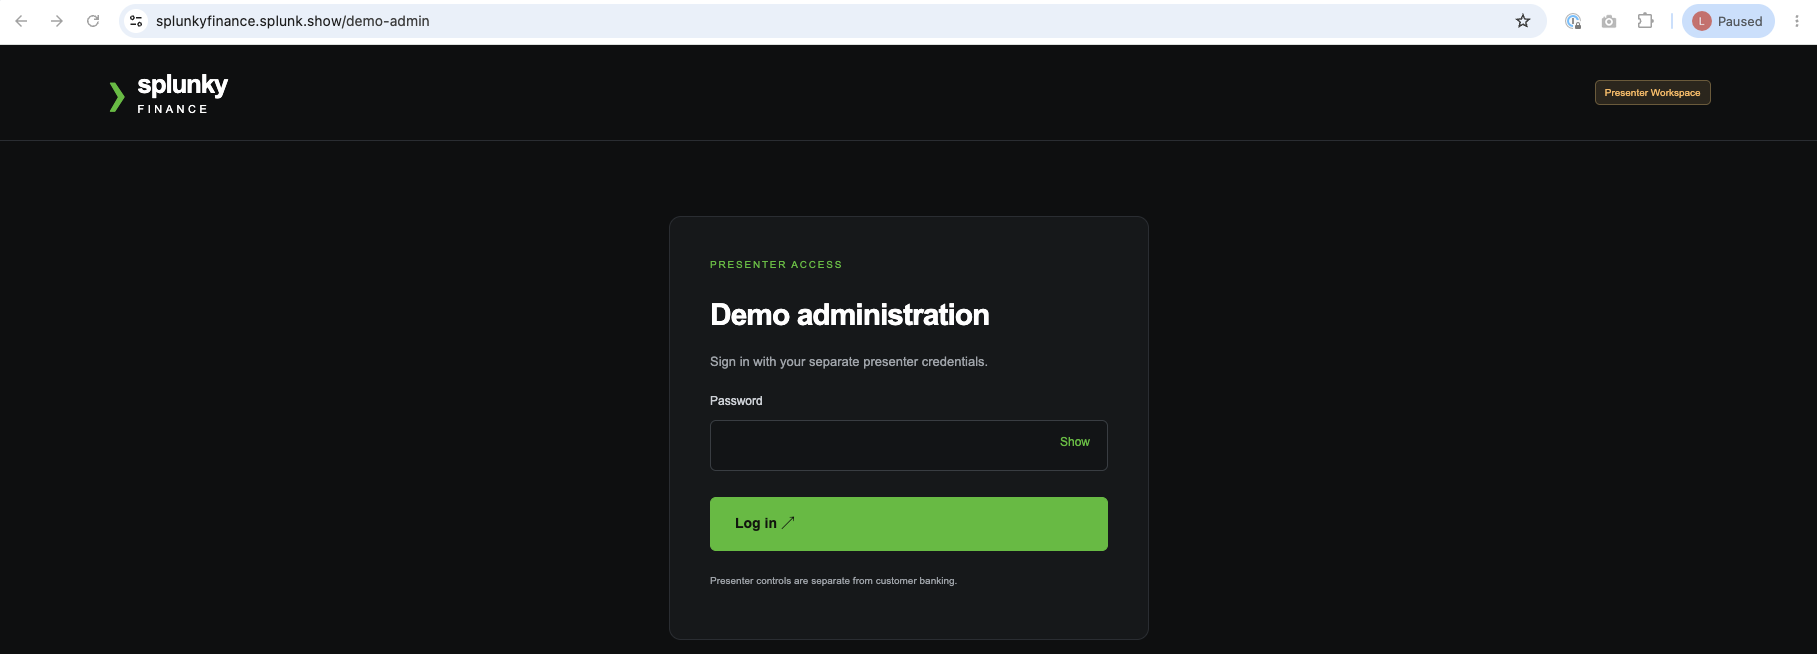
Open your app, sign in to banking, then open /demo-admin in another tab of the same browser
profile. The two link automatically.
Banking App:
Demo-Admin:
Your instance is yours alone: your own dataset, your own settings. What you do will not affect anyone else.
Step 1: Create your Galileo project
A project is your workspace in Galileo. A stream is a named destination inside it that collects what the app sends: one record per conversation, holding every model call and tool call the agent made on the way to its answer. The Galileo console calls it an Agent Stream and the app's Setup tab calls it a Log Stream. Same thing, two names. Everything you build later binds to it by name, so the evaluators score what arrives in your stream and the guardrail is attached to it; do this first, because the app cannot connect to a project or a stream that does not exist.
In the Galileo console:
-
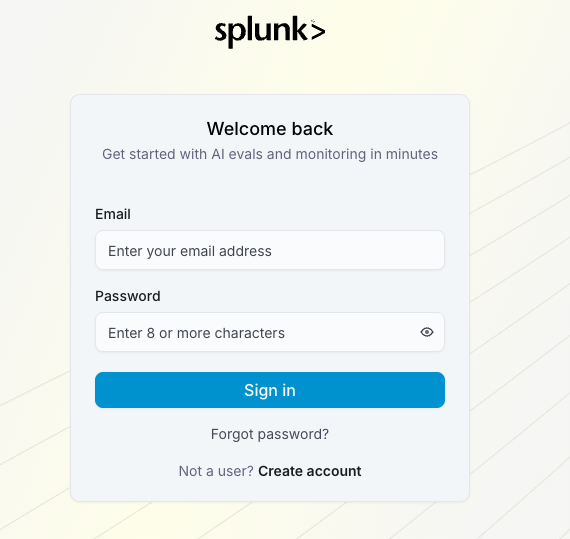
Go to your Galileo URL and Sign-In
-
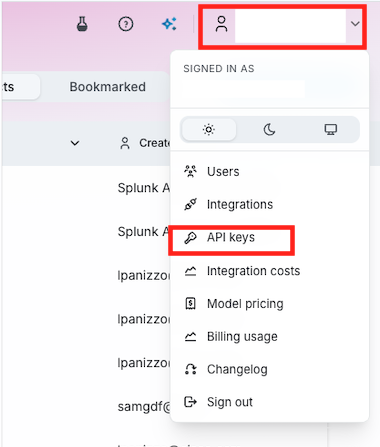
Click on your username on the topright of the portal and select API Keys.
-
Create an API key by clicking + Create new key

-
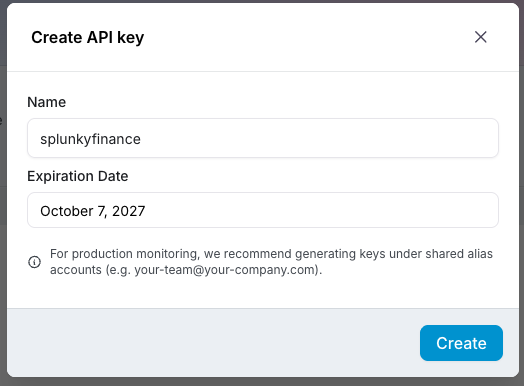
Give the key a name and click create
-
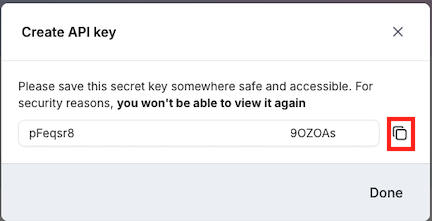
Click the copy button and click Done. (Make sure you store the key securely, as you can not get them again, unless you re-create them.)
-
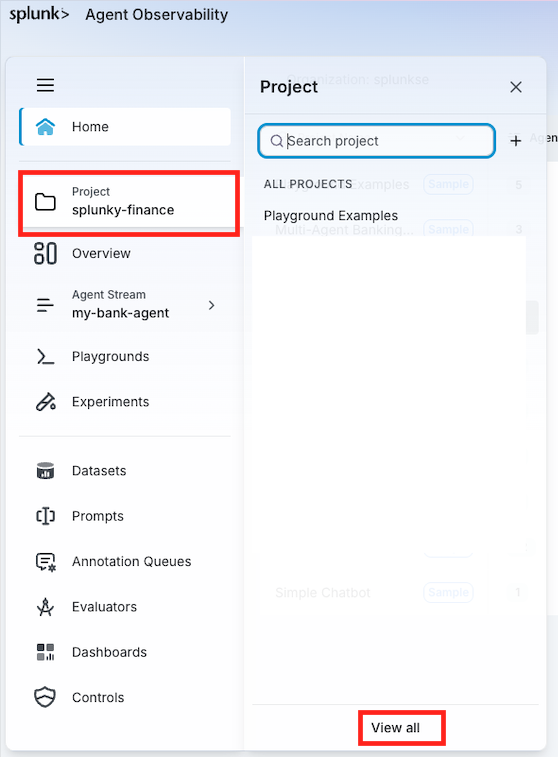
Go to Project on the left screen and select View all
-
Click on Create new project

-
Give it a Project Name for example
splunky-finance-<your initials>and click Create Project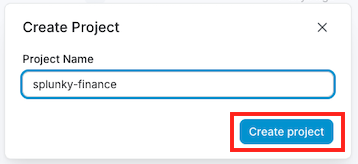
-
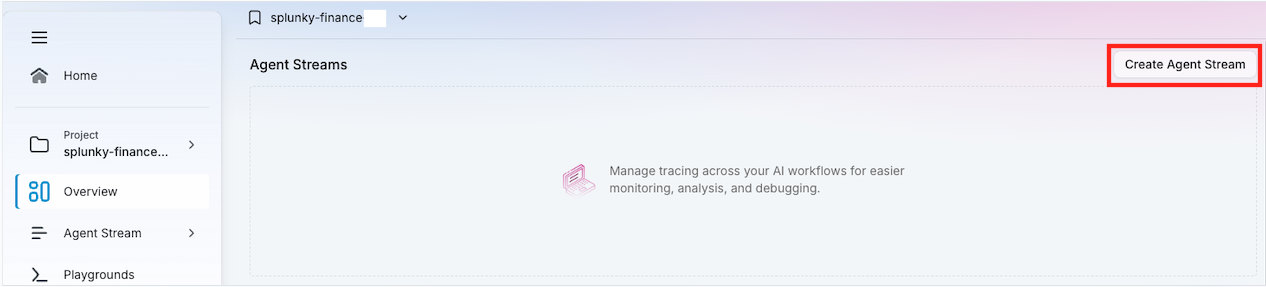
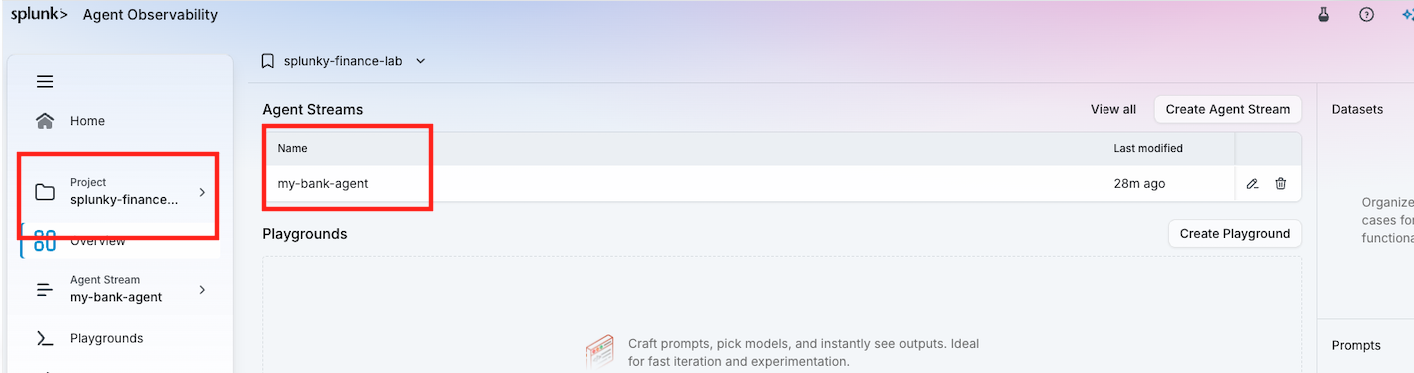
It will automatically take you to the Agent Stream tab for your new project. Here you will need to configure the Agent Streams. An Agent Stream will be where all the logs will be sent to. Click Create Agent Stream
-
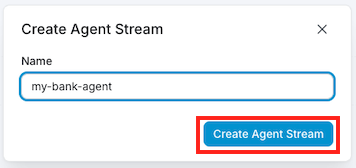
Give the name of the stream as 'my-bank-agent' and click Create Agent Stream
Note the console URL and API URL for your tenant, and the Agent Control URL. Your instructor has these.
Step 2: Connect the app to your Galileo project
Here you tell the app where to send its traces. Until it is connected the agent still answers questions perfectly well, but nothing is recorded, and every later step would have nothing to look at. The three URLs come from your instructor and differ per tenant, so copy them exactly.
-
Go to your demo admin portal (
https://<domain>/demo-admin) and sign in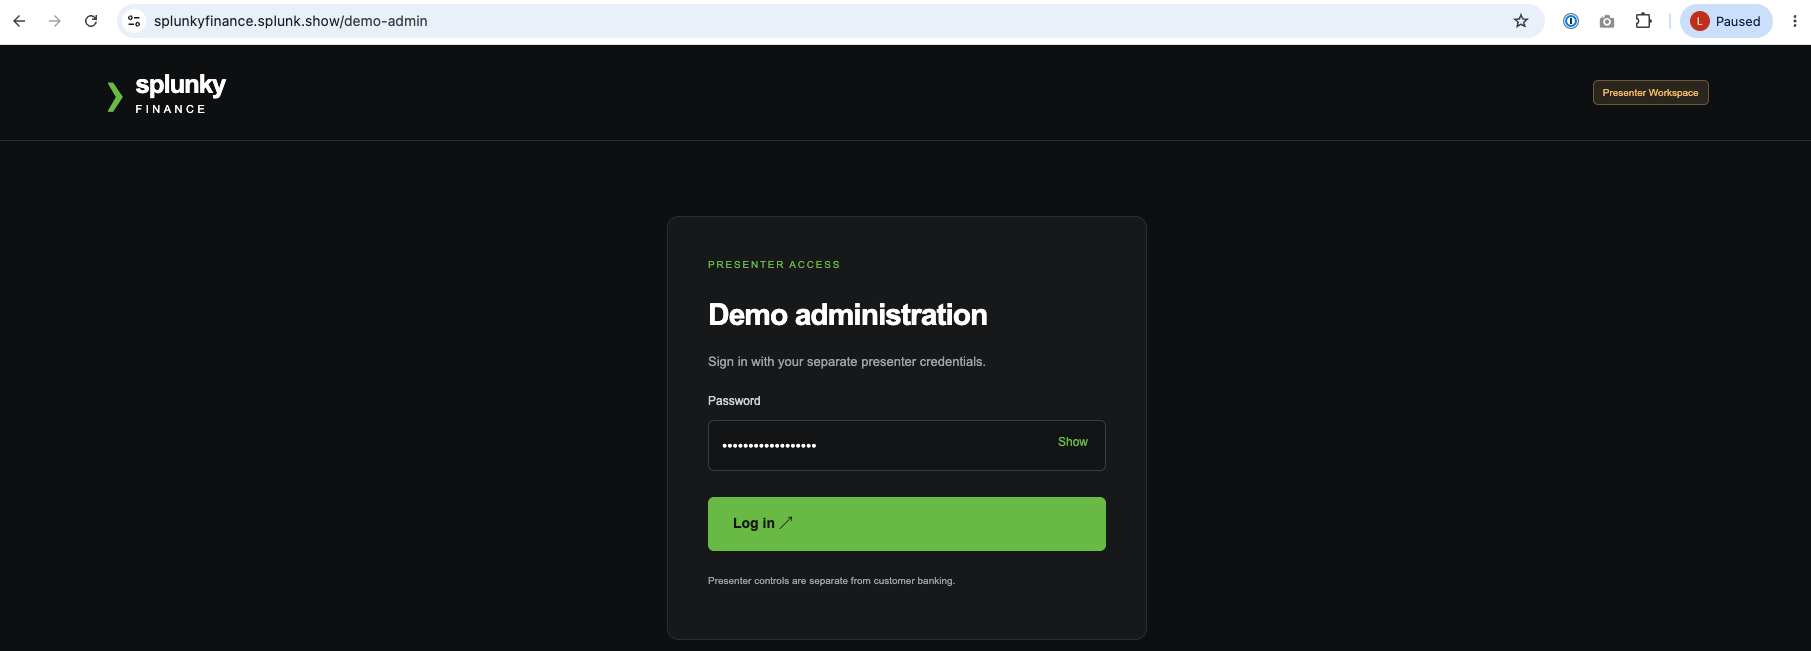
-
Click Setup
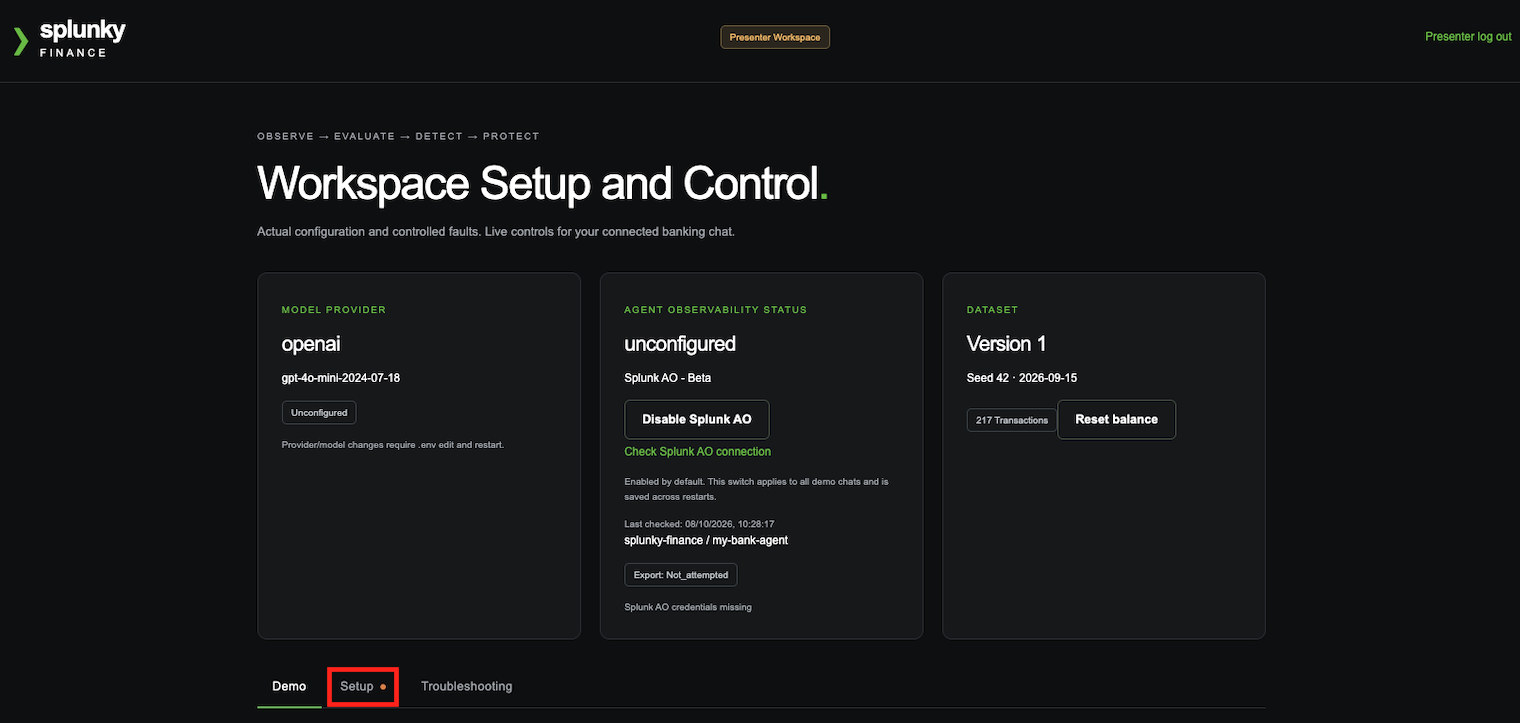
-
Scroll down until you get to the Connect to Splunk Agent Observability / Galileo. Select Galileo. Fill out your 'Project', 'Log Stream', 'Console URL', 'API URL' and 'Agent Control URL'. (These URLs can be found with your credentials). Once filled out click Save and Connect
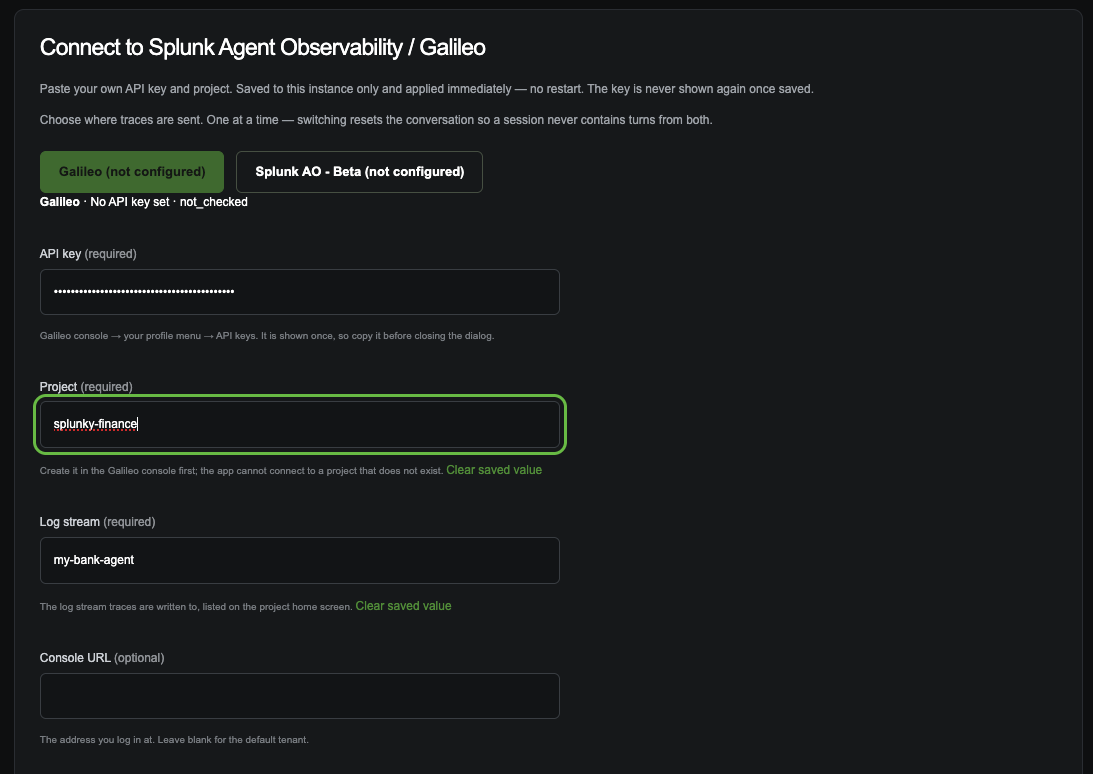
-
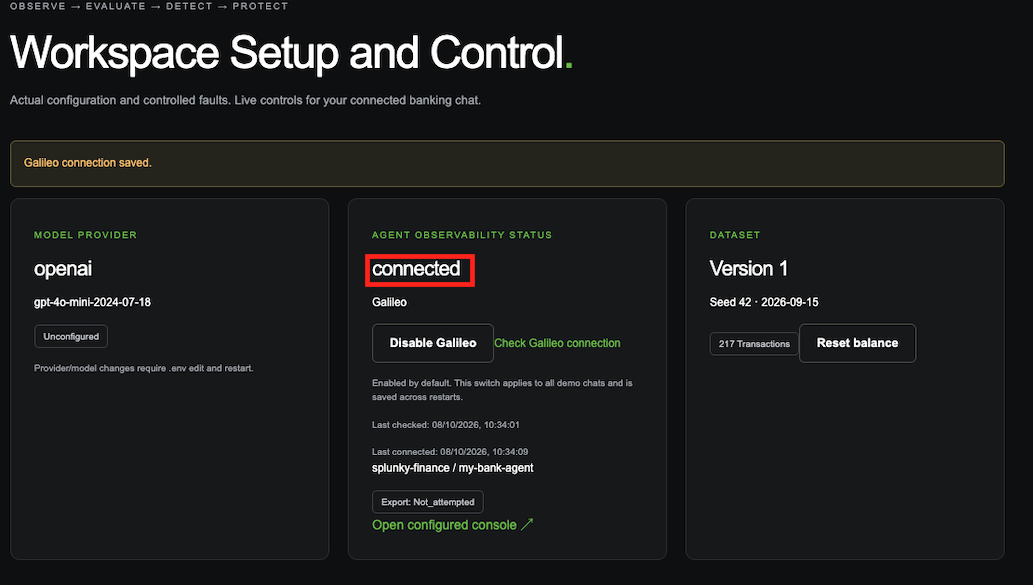
Once saved, scroll to the top and verify you can see it is Connected
If it did not connect, the reason now appears at the top of the page as soon as you click Save and Connect, and names what to fix: a rejected key, a project or stream that does not exist yet, or a URL that cannot be reached. Fix it in Galileo, then click Test connection next to Save and Connect to re-check without re-entering your key.
Step 3: Connect My Bank Agent to your LLM
Now give the agent a model to think with: your provider, your key, and the model identifier your provider expects. The last sub-steps ask one real question and then go looking for it in Galileo, which proves both halves at once: the agent can reach the model, and the trace reaches your stream. If the message does not appear in Galileo here, fix it now rather than in Step 6.
-
Go to your demo admin portal (
https://<domain>/demo-admin) and sign in
-
Click Setup
-
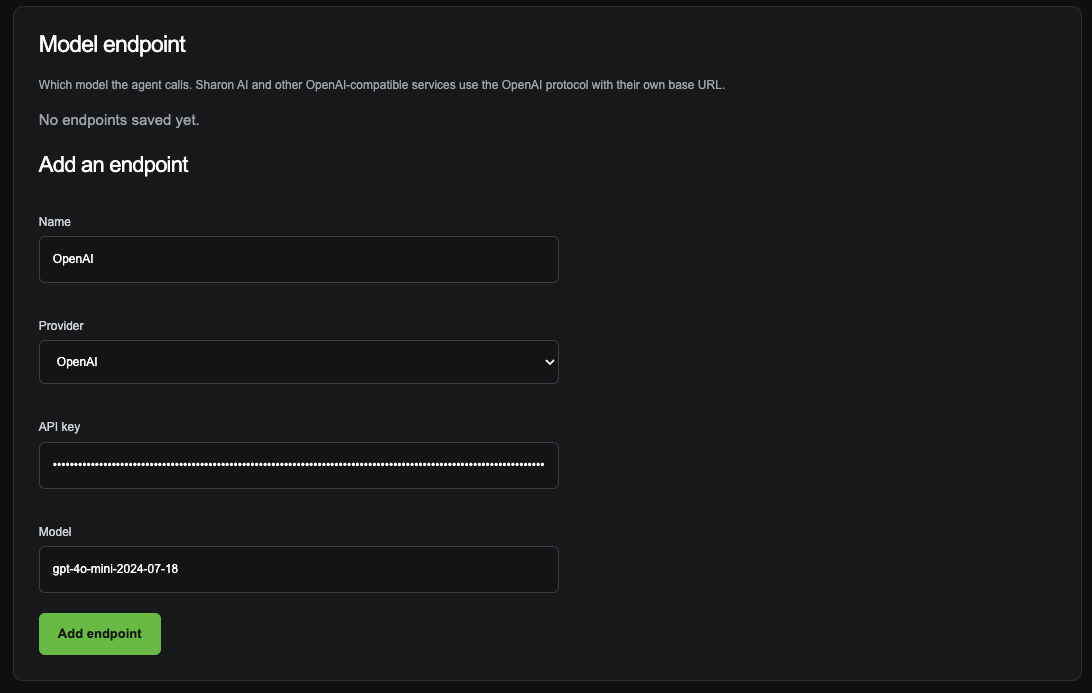
Scroll down to the Model endpoint section. Enter a Model name, then choose the Provider and fill in the API key and Model. The model is the specific model identifier your provider expects. Click Add endpoint
Using an OpenAI-compatible service such as LiteLLM or Sharon AI: choose Custom (OpenAI-compatible) as the Provider, which reveals a Base URL field. Enter the URL ending in
/v1with no trailing space, and put the service's own model alias in Model rather than the vendor's model id. A stray space is encoded into the request path, the provider answers 404, and it reads as a wrong model name.For this workshop: choose Provider Custom (OpenAI-compatible), which reveals the Base URL field. Take the Base URL, Model and API key from Your lab details (the button at the bottom right), and use the Model as the Model name too. The key is required even where the gateway itself would answer without one, because the client refuses to send a request with an empty key.
-
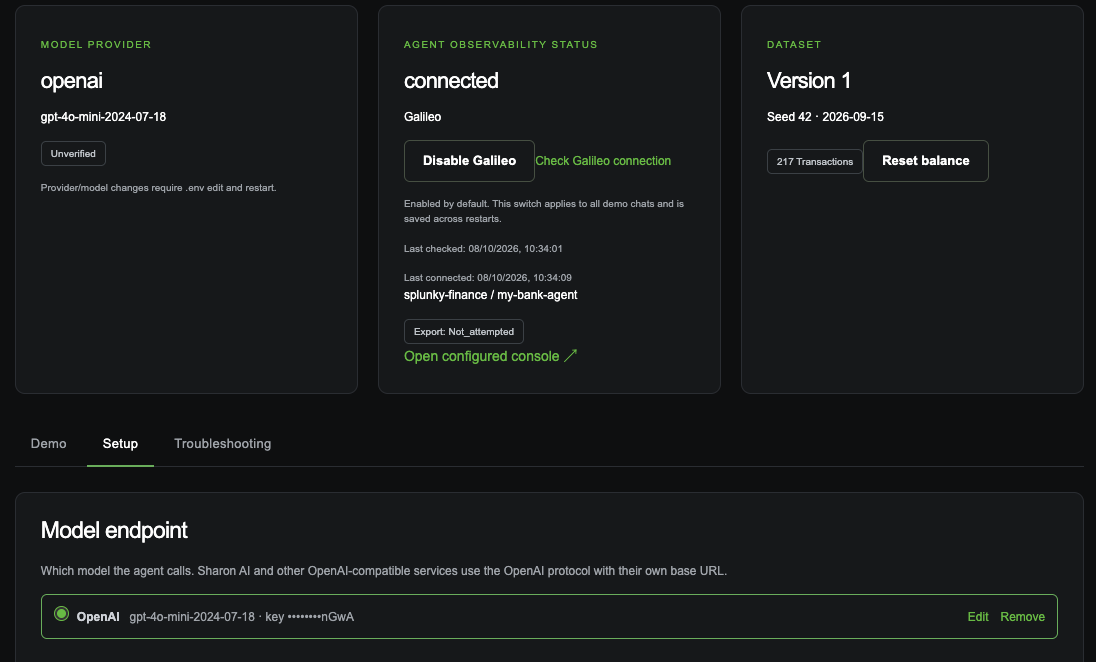
It will show at the top of the page, the selected and configured model
-
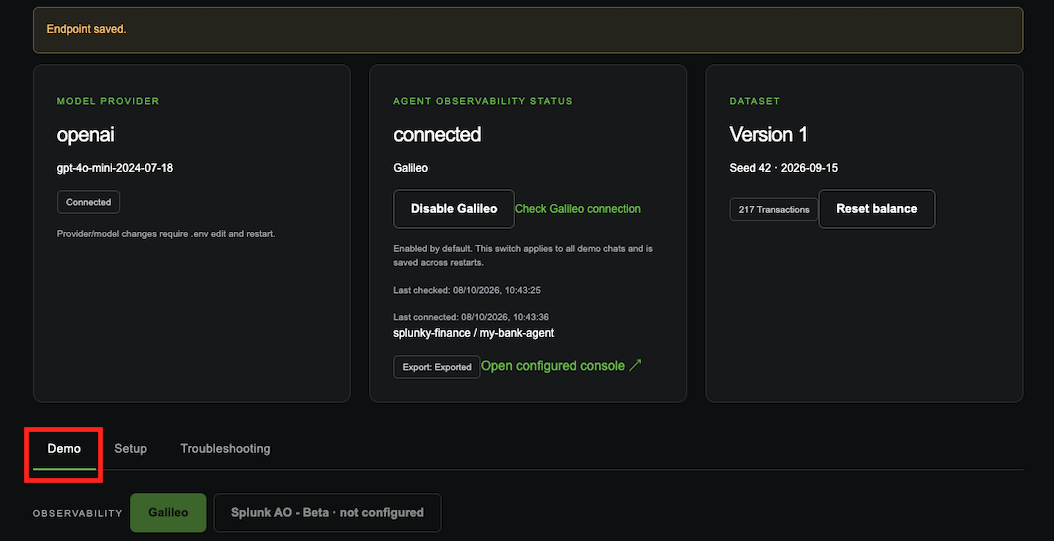
To check everything is working, go to the Demo tab
-
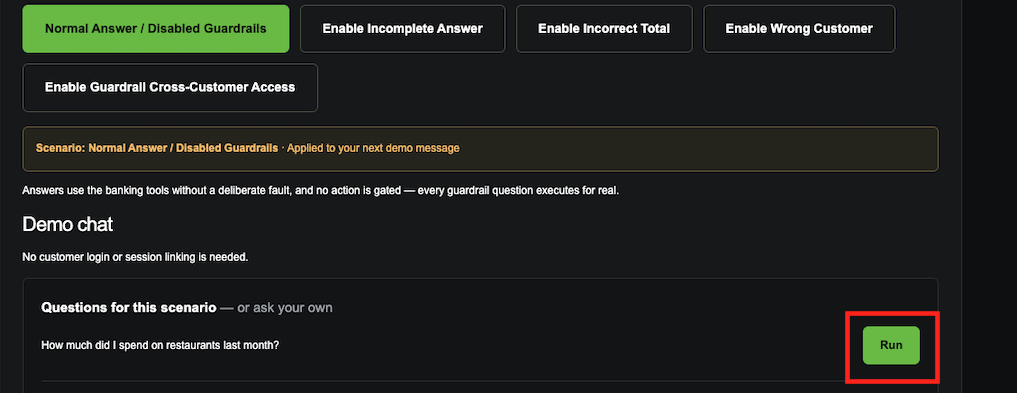
Select Run next to the 'Questions for this scenario'. This will trigger an LLM call from the My Bank Agent.
-
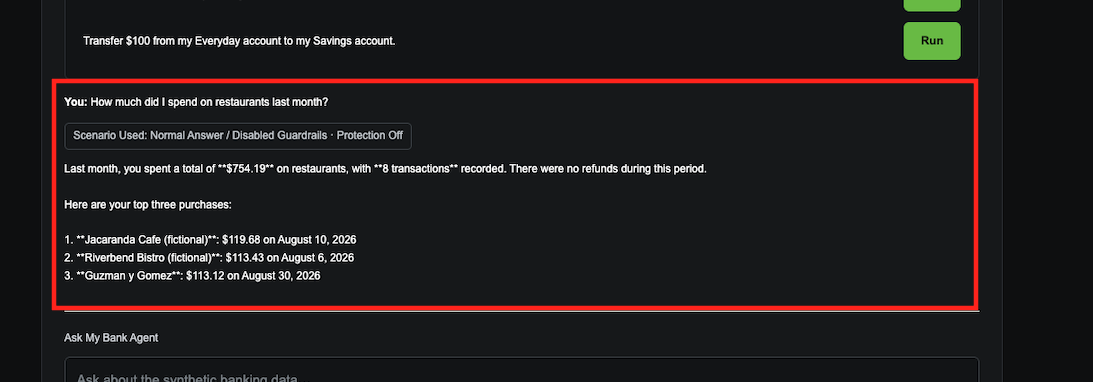
If you scroll down, after a few seconds it will give you the answer, if it is working correctly.
-
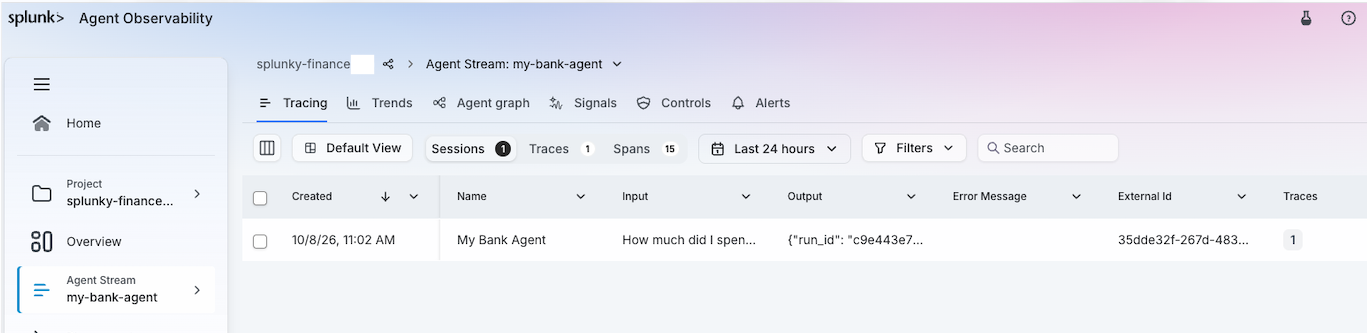
Now go back to Galileo to make sure you can see that message. Click on your project and select your Agent Stream
-
You should see the chat message you sent in the Session tab.